Tile and Cell Selection with RogueSharp
v2 RLNET Tutorials
One of the features of RogueSharp is that it contains multiple methods for selecting Cells in different areas and patterns.
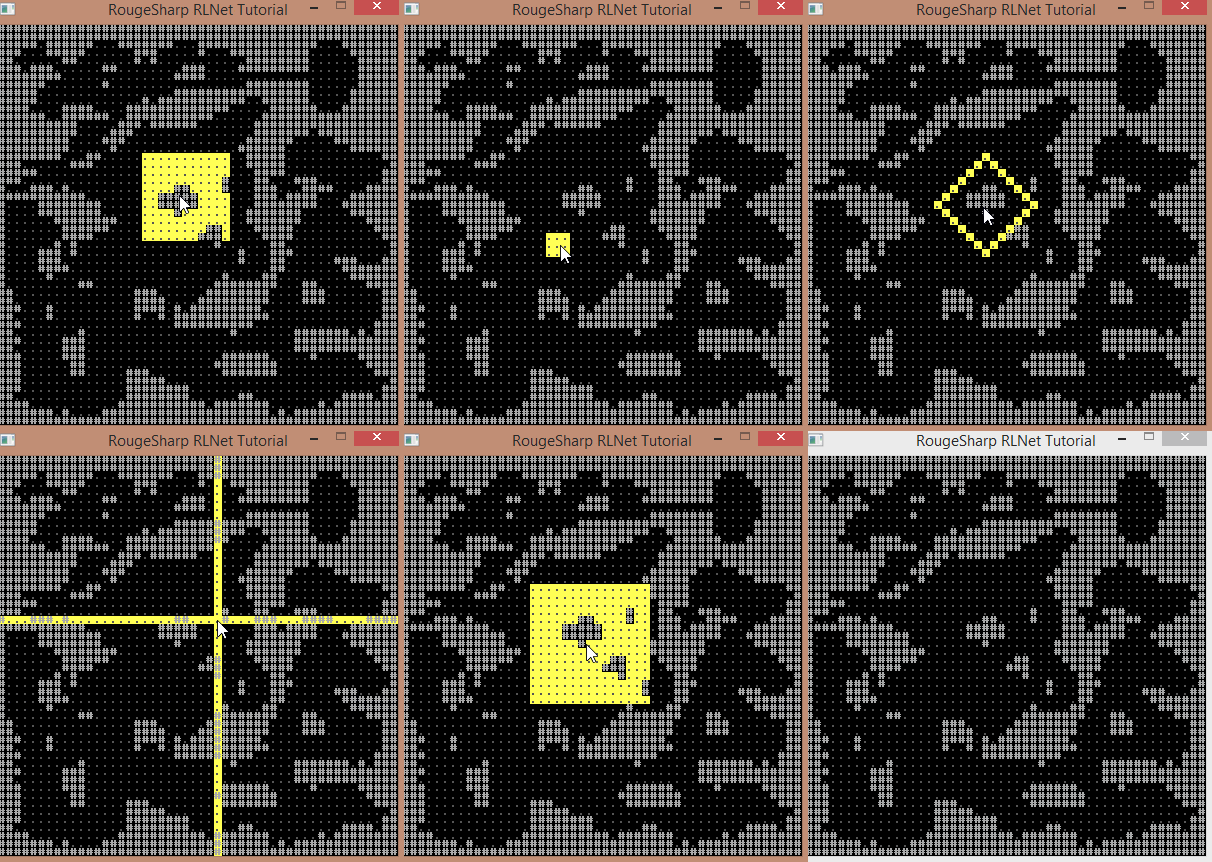
Note: Some people call these Tiles instead of Cells. I believe the terms Cell and Tile are interchangeable but I’ll be using the term Cell for the remainder of this tutorial.
Sample Selection Application
The sample code for the application pictured in the above image is on Bitbucket:
https://bitbucket.org/FaronBracy/roguesharprlnetsamples/branch/AreaSelection
When using the sample the Cell selection will be centered on the mouse cursor.
Commands:
- Left Click – Cycle through selection types
- W Key – Toggle highlighting of walls on and off
- Q Key – Decrease the selection size
- E Key – Increase the selection size
Selection Types
All of the different selection types are methods on the Map class that return an **IEnumerable| **. It is then easy to write a foreach loop that will iterate through each of the selected Cells and do something with it. In the example code we just set the background color of the Cell to yellow. There are lots of other applications though. Perhaps you have a wizard in your game that can cast fireballs that explode and damage all enemies in a given radius. This would be perfect for that. |
// Define the point of impact and the size of our explosion
int xOriginOfExplosion;
int yOriginOfExplosion;
int radiusOfExplosion;

// Call GetCellsInRadius on our IMap. This assumes _map is our game map of type IMap.
IEnumerable<Cell> cellsInExplosion =
  _map.GetCellsInRadius( xOriginOfExplosion, yOriginOfExplosion, radiusOfExplosion );

// Enumerate through each cell in the explosion
foreach ( Cell cell in cellsInExplosion )
{
  // Assume that we have a function that will
  // retrieve an enemy at a given position or null if there isn't one.
  Enemy enemy = GetEnemyAtPosition( cell.X, cell.Y );
  if ( enemy != null)
  {
    // Assume that we have a method on our enemy to cause him to take damage.
    enemy.TakeDamage( 6 );
  }
}
GetCellsInRadius

/// <summary>
/// Get an IEnumerable of Cells in a circular radius around the Origin Cell
/// </summary>
/// <param name="xOrigin">X location of the Origin Cell with 0 as the farthest left</param>
/// <param name="yOrigin">Y location of the Origin Cell with 0 as the top</param>
/// <param name="radius">The number of Cells to get in a radius from the Origin Cell</param>
/// <returns>IEnumerable of Cells in a circular radius around the Origin Cell</returns>
public IEnumerable<Cell> GetCellsInRadius( int xOrigin, int yOrigin, int radius )
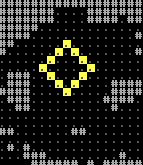
GetBorderCellsInRadius
/// <summary>
/// Get an IEnumerable of the outermost border Cells in a circular Radius around the Origin Cell
/// </summary>
/// <param name="xOrigin">X location of the Origin Cell with 0 as the farthest left</param>
/// <param name="yOrigin">Y location of the Origin Cell with 0 as the top</param>
/// <param name="radius">The radius from the Origin Cell in which the border Cells lie</param>
/// <returns>IEnumerable of the outermost border Cells in a circular radius around the Origin Cell</returns>
public IEnumerable<Cell> GetBorderCellsInRadius( int xOrigin, int yOrigin, int radius )
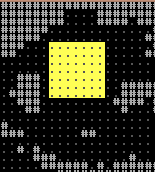
GetCellsInArea
/// <summary>
/// Get an IEnumerable of Cells in a square area around the Origin Cell
/// </summary>
/// <param name="xOrigin">X location of the Origin Cell with 0 as the farthest left</param>
/// <param name="yOrigin">Y location of the Origin Cell with 0 as the top</param>
/// <param name="distance">The number of Cells to get in each direction from the Origin Cell</param>
/// <returns>IEnumerable of Cells in a square area around the Origin Cell</returns>
public IEnumerable<Cell> GetCellsInArea( int xOrigin, int yOrigin, int distance )
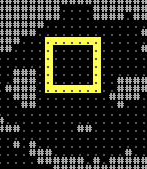
GetBorderCellsInArea
/// <summary>
/// Get an IEnumerable of the outermost border Cells in a square around the Origin Cell
/// </summary>
/// <param name="xOrigin">X location of the Origin Cell with 0 as the farthest left</param>
/// <param name="yOrigin">Y location of the Origin Cell with 0 as the top</param>
/// <param name="distance">The distance from the Origin Cell in which the border Cells lie</param>
/// <returns> IEnumerable of the outermost border Cells in a square around the Origin Cell</returns>
public IEnumerable<Cell> GetBorderCellsInArea( int xOrigin, int yOrigin, int distance )
GetCellsInColumns
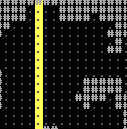
/// <summary>
/// Get an IEnumerable of all the Cells in the specified column numbers
/// </summary>
/// <param name="columnNumbers">Integer array of column numbers with 0 as the farthest left</param>
/// <returns>IEnumerable of all the Cells in the specified column numbers</returns>
public IEnumerable<Cell> GetCellsInColumns( params int[] columnNumbers )
GetCellsInRows
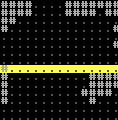
/// <summary>
/// Get an IEnumerable of all the Cells in the specified row numbers
/// </summary>
/// <param name="rowNumbers">Integer array of row numbers with 0 as the top</param>
/// <returns>IEnumerable of all the Cells in the specified row numbers</returns>
public IEnumerable<Cell> GetCellsInRows( params int[] rowNumbers )
Toggle Wall Selection
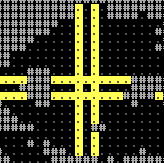
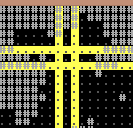
By default all of the selection methods will return every Cell in the area regardless of type. Because the selections all return IEnumerable it means that we can use Linq to filter them. So if we wanted to only select Cells that were walkable we could do something like this.
// Assume that map, x, y, and selectionSize are previously defined
IEnumerable<Cell> walkableCells = map.GetCellsInRadius( x, y, selectionSize )
// We can use a Linq .Where clause to filter only the walkable Cells.
  .Where( c => c.IsWalkable );
I hope that this helps clear up how some of the different map selection methods works. Thank you for reading!